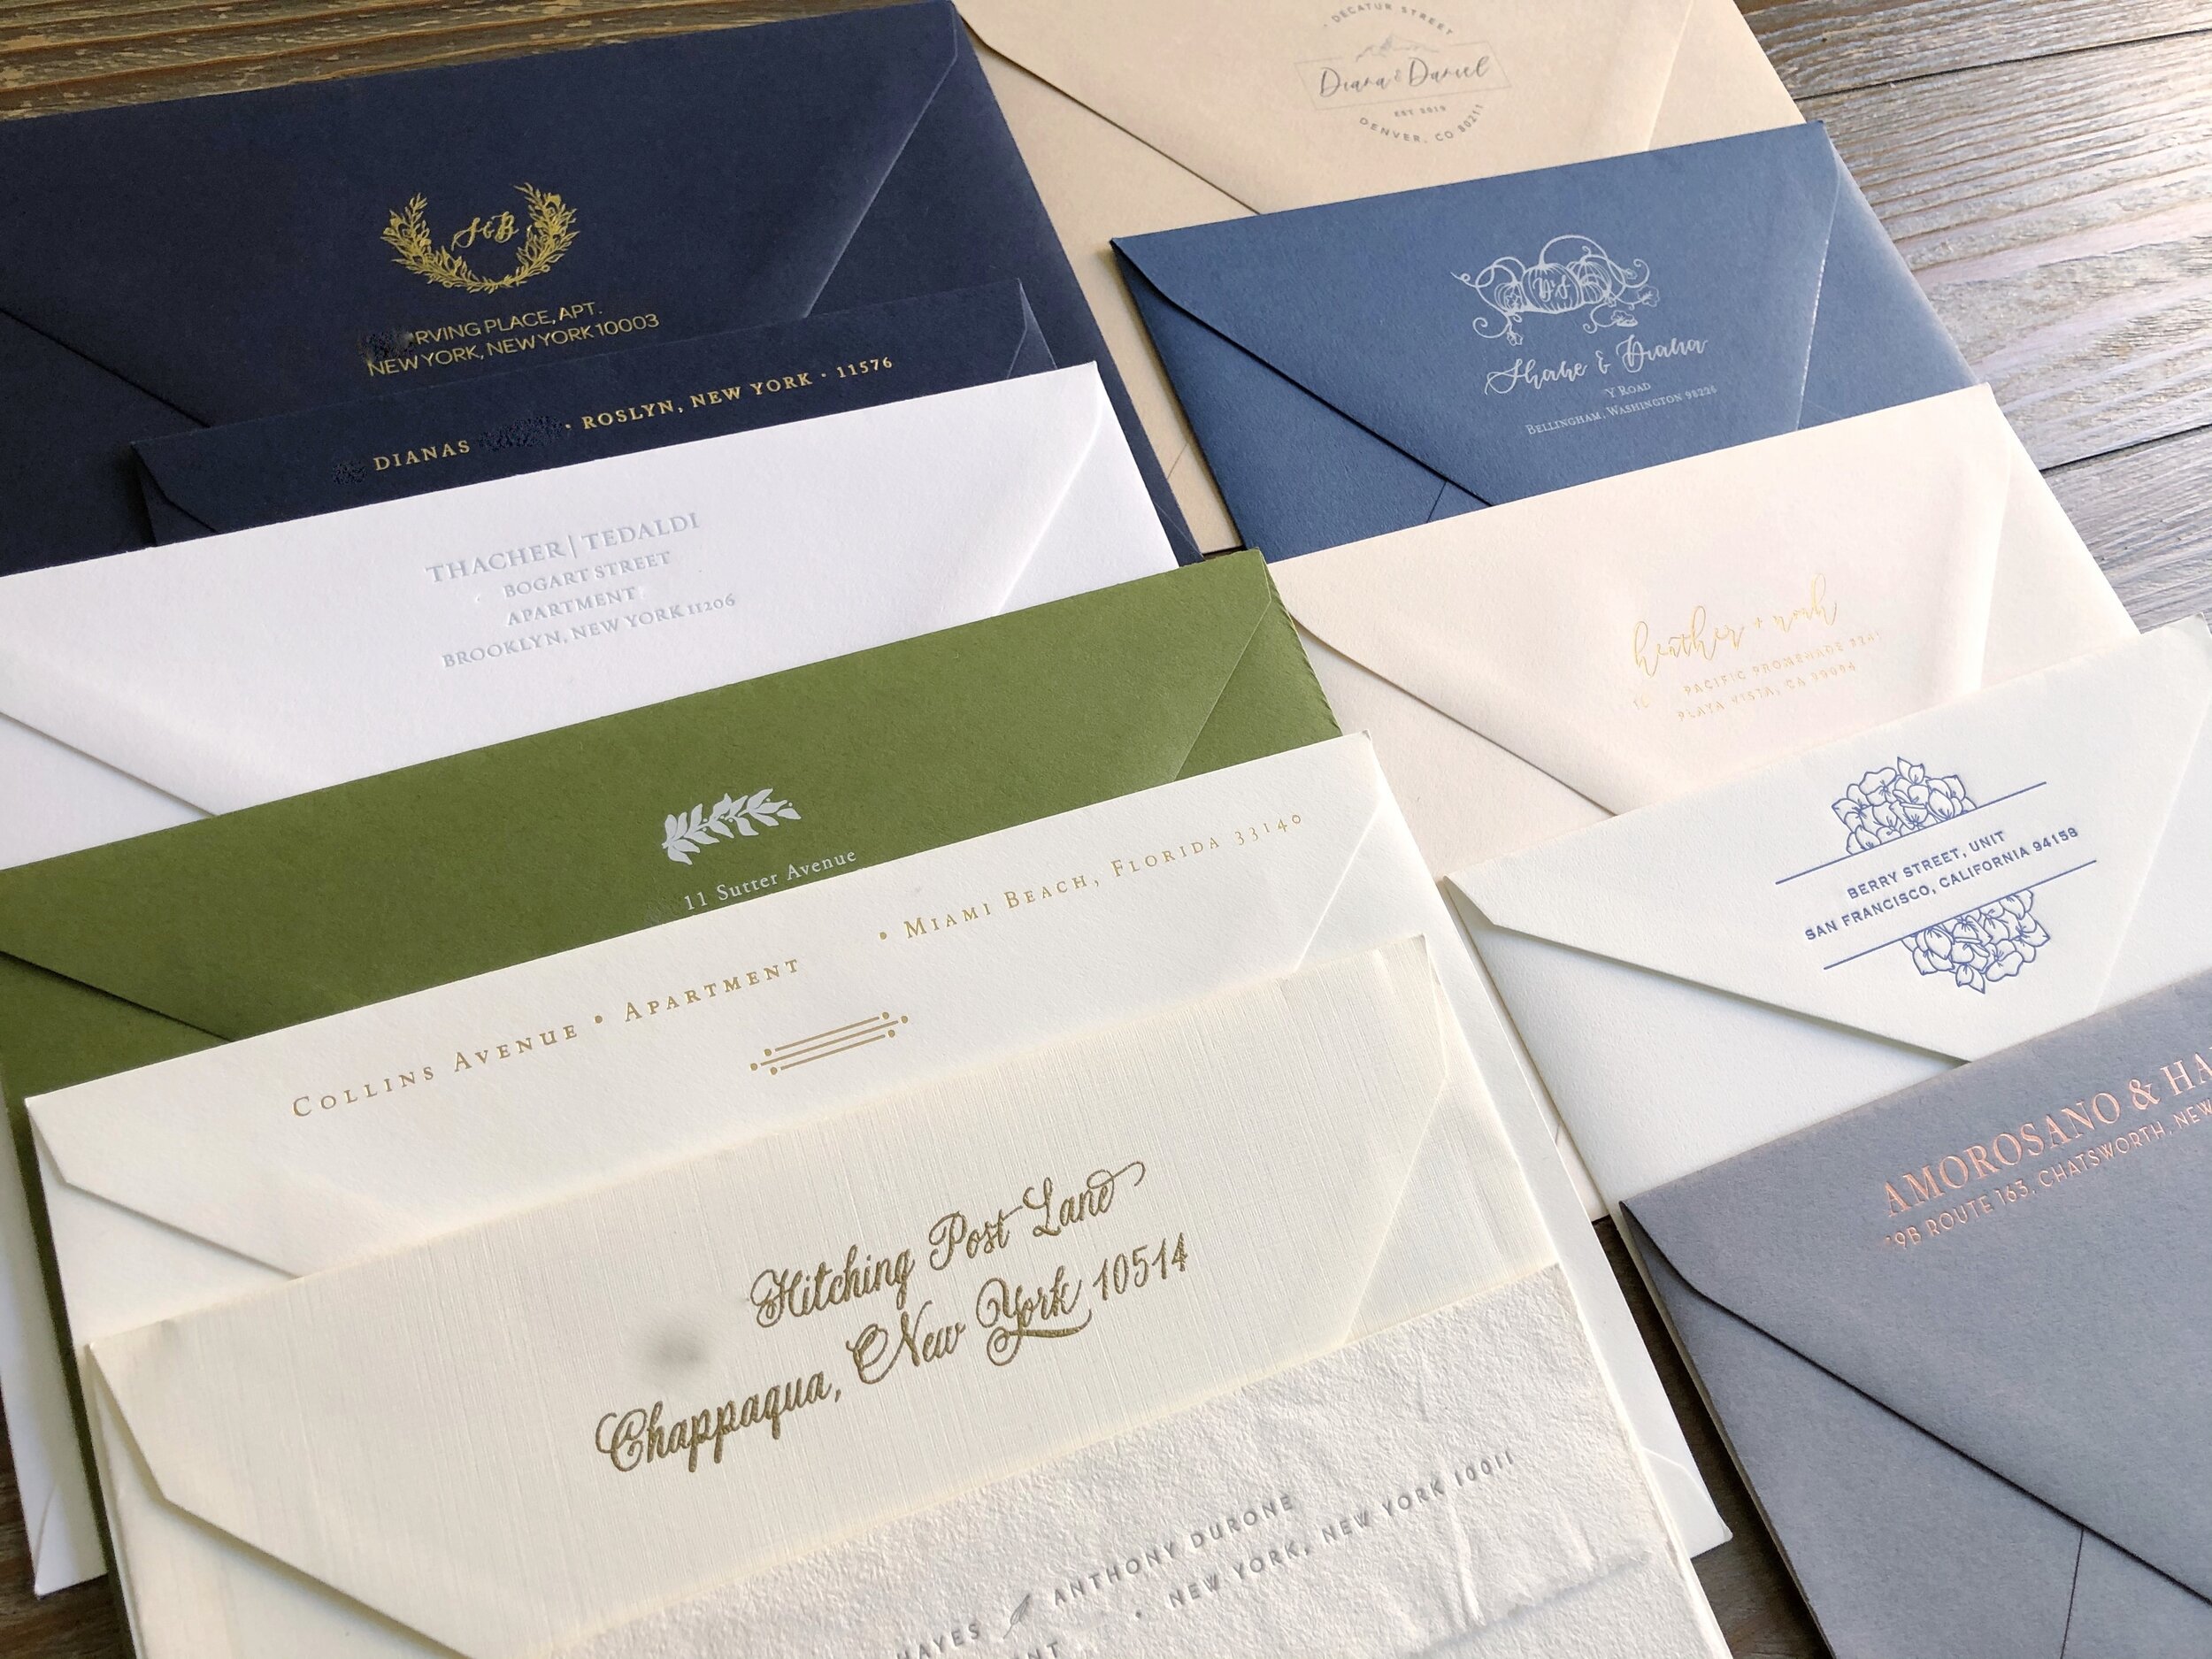
Ahh—the return address on the back flap. An essential element to your invitations, and something that people often forget about. Wedding Invitations have a lot of parts to them, and there is no best way to design! But regardless of how you are addressing your invitations (be it a calligrapher or having them printed or even doing them yourself), you need to include a return address. And the return address can often add to costs, depending on how you are designing your invitations. But you’ve got options!
Some invitation makers, such as Zola or Minted will often include the cost of printing the return address on the back flap of the envelope. You may have a few options for how it’s printed, such as letterpress, foil, or engraved. In my opinion, letterpress and foil are your best use of value, since those are very pricey if you use a printer on your own. And they look gorgeous.
If you are designing your invitations with a stationer, printer, or calligrapher, we generally design the return address and include it in the proof, so that they can be printed directly on to the envelopes at the printer. This usually costs a little extra (priced per envelope) but to have your choice of simplicity, fonts, styles, or designs, this method can’t be beaten!
If you are using a calligrapher, printers usually insist that the return address gets printed onto the envelopes before giving them to a calligrapher. The reason being they would rather not be responsible for messing up any calligraphed envelopes. Be sure to have them print on extra envelopes since calligraphers always want a certain amount of spare envelopes!
Your calligrapher can also hand write the return address on the back. Speaking for myself, I don’t charge the same amount for the return address as I do for the front addresses. This is because I can go a little more quickly (far less room for error since it’s the same address over and over) I generally simplify the address itself (making it only 1-3 lines in length, and sometimes using abbreviations so that it’s very clear and easy for the postal workers to read, should they need to refer to it. Sometimes I am asked to write these in all caps or printed letters, so there is no confusion, or so the front address makes more of the impact. Either way, handwritten is always beautiful.
If you are looking to save a little bit of money on the overall cost of the invitations, I also recommend to clients to purchase a custom stamp! (I like to send people to Ink Me This. I can speak to her quality—they are crisp, lasting, easy to use, and there are a ton of styles and designs. Plus, I always like to encourage people to shop small!)
Custom stamps will cost less than $45, you will have it to keep forever (certainly kicks the look of your snail mail up a notch) and it’s helpful when it comes time to send out those Thank You notes. (I love making my clients custom Thank You notes, but I also love these ready-made ones!) The obvious downside is you’ll have to set your mind to a little bit of a DIY project, but if you’re trying to cut costs, custom stamps can help.
If you are using a stationer or calligrapher to design your invitations (need a list? Check The Knot for vendors in your city) they can design your stamp for you in their own writing! I love designing the stamps in my writing because they still tie in the calligraphy from the invitations, and offer a little something extra special and custom.

